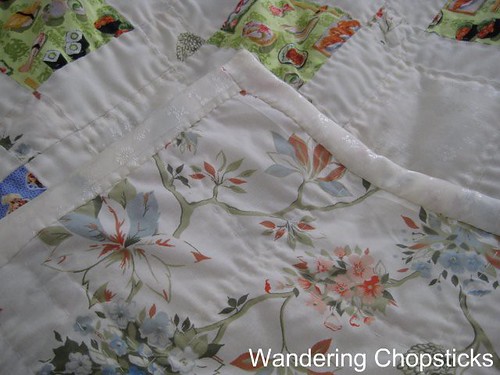
When the older '88 was finishing up her "Happy Sailing" quilt, she said she couldn't find my info on how to finish it. That's because I never blogged it. :P
And gosh, it's been more than two years since I've quilted anything! I took a little more care to baste, quilt, and bind my sushi/dim sum quilt than I did with my previous ones so I think it looks much better.
If you look at my apple tree quilt below, you can see that I quilted right into the seams. I thought it would more nicely disguise the stitches, but apparently that also weakens them since the stress is right where they're weakest. Much better to quilt on both sides of the seams instead.
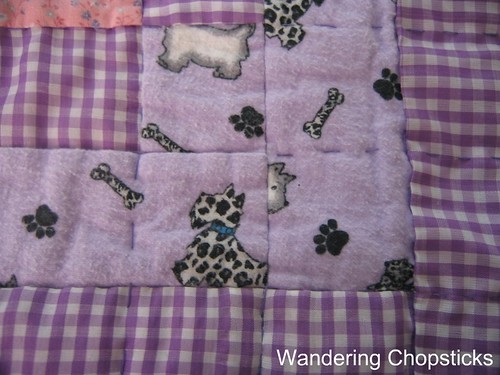
The back view shows how the quilt has held up through the years. Quilting through all the layers made sure that the batting didn't scrunch up and that everything stayed in place.
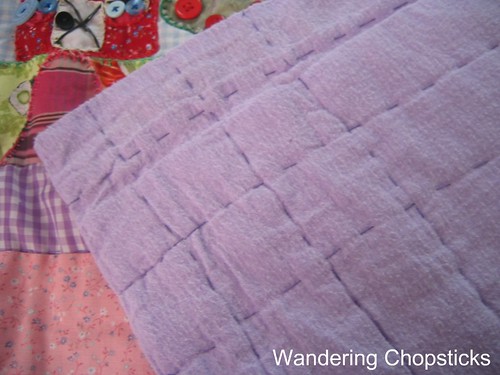
To bind the quilt, I sewed along the borders with the inside out, reserving several feet for when I then turned it outside out again. I finished off by simply tucking in the sides and sewing that off. Effective, although not terribly pretty.
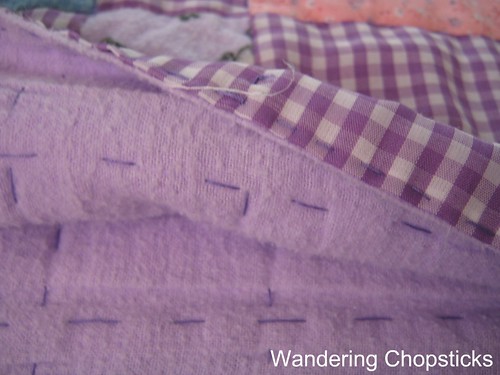
So, here's how to sandwich your quilt together and finish it off with a binding like my top photo.
First, get a big area where you can lay out the entire quilt flat. Place the layers as how you want the final product to be with the nice side of the under layer facing down, batting in the middle, and top layer facing up. Pin or safety pin all the layers together about every six inches to one foot to hold everything in place.
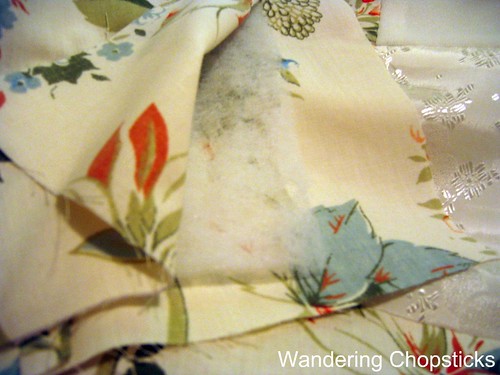
I found it easier with a big blanket to quilt 1/4 of it at a time. So roll it up about one foot wide down half of one side, then the other. I lay it out on the footboard of my bed to keep everything straight. You can probably lay it out over a coffee table too. Notice how I've tucked in the left side, and then the top half?
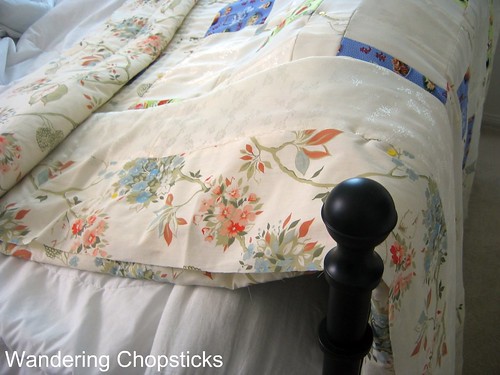
Here's the view from where I'm sitting on my bed. I start on the right side, in the middle of the quilt, and make stitches across the left until I get to the end. After I've quilted several rows, I roll up the side next to me, and repeat until all the rows are done. Then unroll the quilt, fold over the right side that had been quilted and repeat on the left side. Don't forget to quilt in the other direction too until the entire quilt is done.
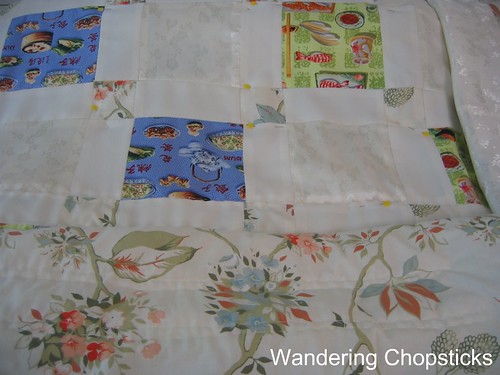
See? Quilting on both sides of the seams this time. I didn't bother making small stitches as the quilting is really intended to keep all the layers of the quilt together. Plus, I'm not too particular about perfection, I just wanted to be done.
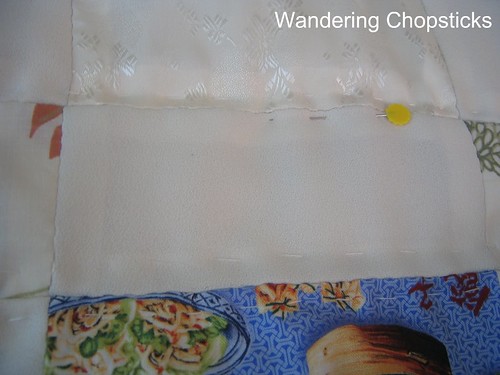
Once the layers were all quilted, I then made my binding. I found it easier to cut 4-inch strips so that I could iron it in half, then half again. That left a 1-inch binding all along the edges. You can make it any width you like, but I found that making it smaller was harder to iron.
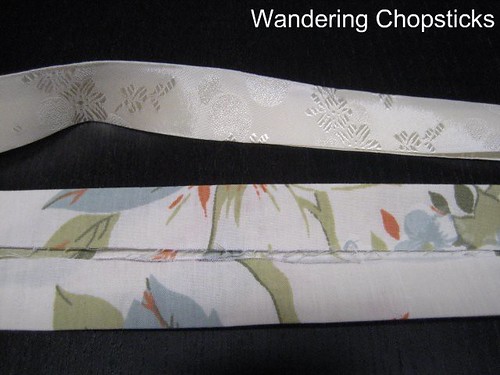
Then line up the edge of your binding with the edge of the quilt.
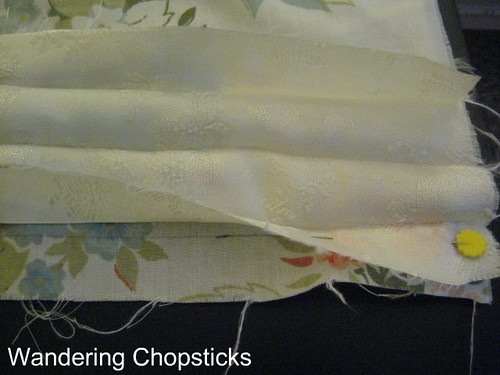
Flip the whole binding around so that it nicely covers the edge. Pin down and sew.
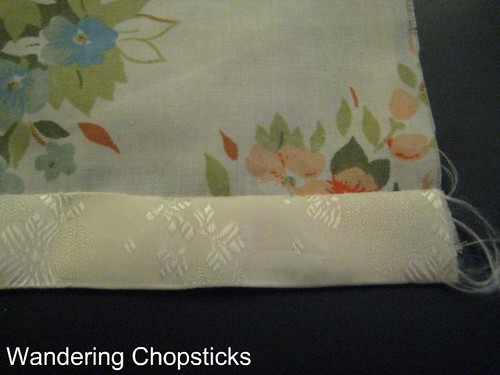
I didn't bother with tucking in diagonal corners but sewed it straight on through. Remember to leave a bit of fabric at the end of your binding so that you can tuck it in neatly like what I did below. Then sew that off too.
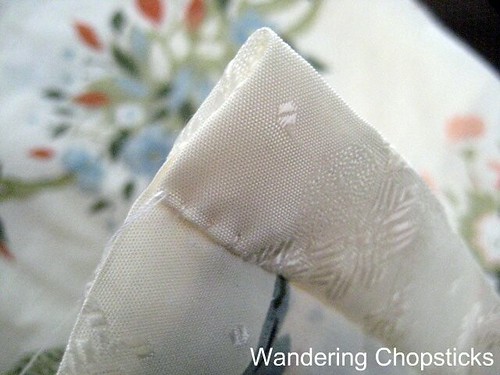
And there you have a nicely edged quilt with binding.
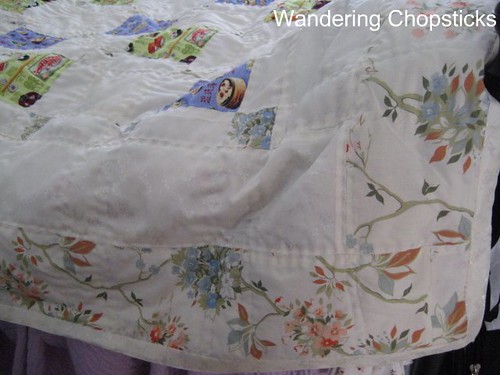
See how everything came together?
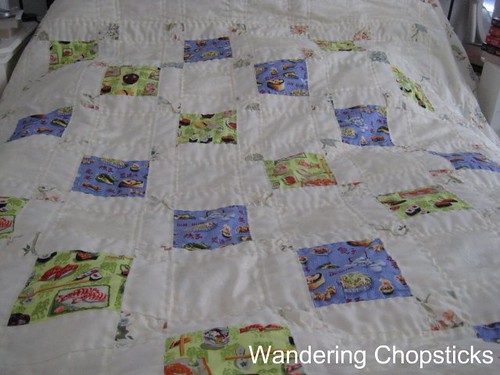
You can see more pictures of the finished Sushi/Dim Sum Quilt if you missed it the first time around.
And in case you want to get started too, the first parts of this series are:
Start Quilting: Choosing a Design and Buying Supplies
Assembling Your Quilt: Cutting, Measuring Margins, Ironing, and Piecing
*****
1 year ago today, Latourell Falls - Columbia River Gorge - Oregon.
2 years ago today, for Northern-style filet mignon pho, Pho Huynh Vietnamese Restaurant - South El Monte.
3 years ago today, a little lesson on ancestor worship and my great-grandfather's death anniversary dinner.

Very pretty!
ReplyDeletePam,
ReplyDeleteThanks!