
Somehow I got it into my head that I needed to make something special for my niece's first birthday. Something that I normally wouldn't do. Sure she won't remember it, but she'll have photos to look back on, right? But, there were so many people at the party and things were so hectic that I totally forgot to take photos of her holding one of these Hello Kitty red velvet cake pops.
Of course, my version doesn't look anywhere near as cute as Bakerella's original Hello Kitty cake pops, but they ended up nicer than I expected. They also cost more and were a whole lot more work than I expected as well. Altogether, the cost of all the supplies was about $30 (Minus $10 for the cookie scoop and edible markers which ended up being useless.). I started these around 10 p.m. and didn't finish until 8:30 a.m. Granted, there was a lot of rest time in between, but it was still a whole lot more work than I've put into cooking anything in recent memory.
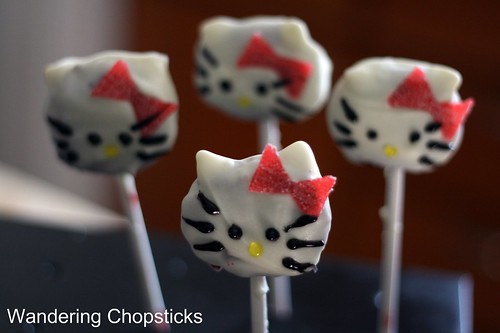
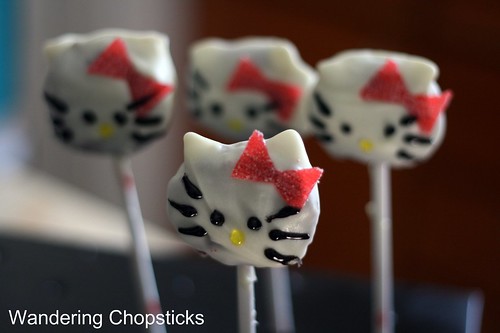
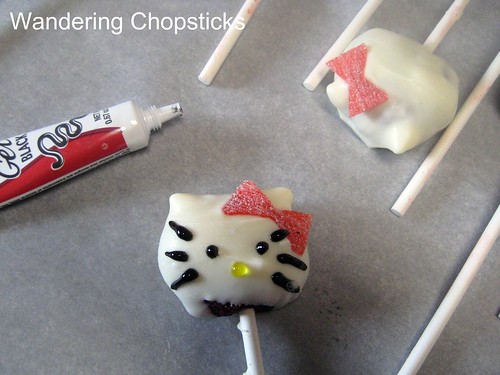
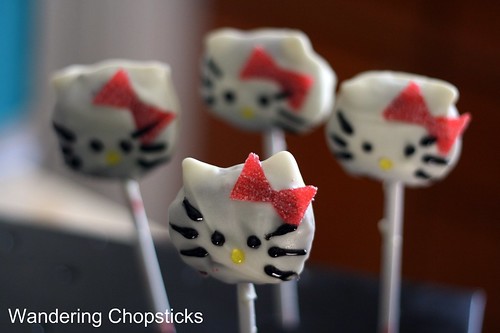
Unlike Bakerella's version, I just used a fruit roll-up strip for the bows. I could not find Red Hots at the grocery store and the generic baking version was $5 for a little 2 ounce jar. Ridiculous! Like Lan of Angry Asian Creations said when she made her version, save your money and don't buy the Wilton edible markers. They might work on fondant, but they barely worked when writing on white chocolate. I bought the lollipop sticks at Michaels Stores, where the gel pens were also significantly cheaper than at the grocery stores.
Also, when drawing on Hello Kitty's face, the eyes are much lower and much farther apart than you think. It took me a few tries before I got the hang of it.
In the end, I didn't even eat one of the Hello Kitty cake pops. Too much sugar for me.
Hello Kitty Cake Pops
Adapted from Bakerella's Hello Kitty cake pops
You'll need:
1 box red velvet cake mix or other flavor of your choice
1 can cream cheese frosting
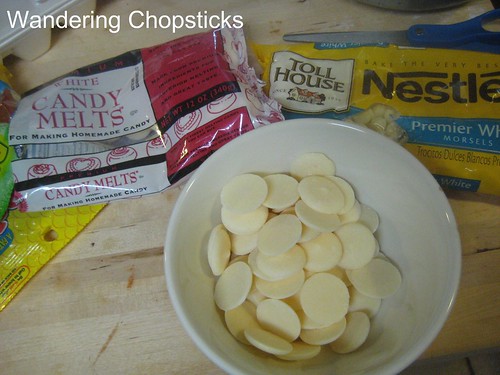
1 bag white chocolate morsels
1 bag white candy melts, or substitute with a second bag of white chocolate morsels
1 roll red fruit by the foot or fruit roll-up type candy
1 black decorating gel
1 yellow decorating gel
About two to three dozen lollipop sticks
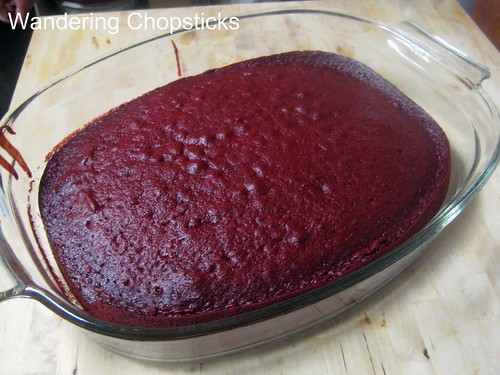
Make your red velvet boxed cake mix. Yeah, yeah, I used boxed mix. Make your own if you want, but that's too much work for something that'll get mashed up. Save the effort for when the filling will be appreciated more than the outside. I made this ahead of time and let it cool down so preparations didn't start until 10:10 p.m.
Then dump about 3/4 of a box of cream cheese frosting and mix. I tried to do it with a wooden spoon first, but that's really way too slow.
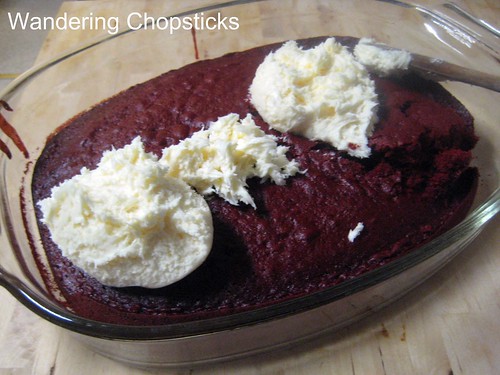
Use your hands.
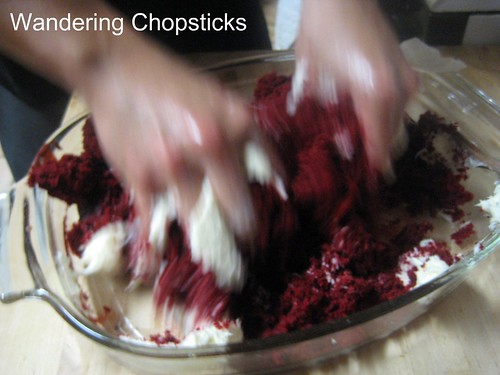
Or in this case, oldest nephew's hands, which are much bigger and make short work of it all.

Stop when the cake and cream cheese frosting have mixed enough to start sticking together. I used a small cookie scoop for uniformity in shaping the heads. Make them flattish, and mostly round with the sides wider. Wash your hands frequently after every few shapes because they'll get sticky and won't be so smooth after a while.

Then oldest nephew and I stuck them on a stick. Place them on parchment paper atop a cookie tray and stick them in the fridge for a few hours to set. Or a freezer if you have the room, but I never do. We managed to make 38 of these.

Busy yourself with other things while the cake pops are chilling. I made Dessert Sushi with Swedish Fish Candy and Rice Krispies Treats and started prepping the Banh Bo Khoai Tim (Vietnamese Steamed Rice Cakes with Purple Sweet Potatoes). Or you know, plan ahead of time so you're not hanging around the kitchen into the wee hours of the night.
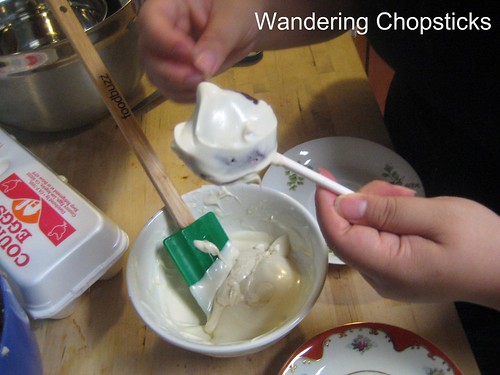
Then in a microwave-safe bowl, melt about half a cup of white chocolate candy melts, or white chocolate chips if you don't have the candy melts. I didn't really see much difference in either one and the candy melts were 50 cents more expensive.
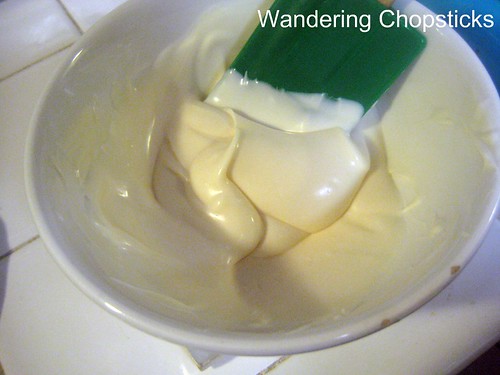
Just zap it for about 15 to 30 seconds or so. The white chocolate won't look melted, but if they're warm enough, they should start melting when you try and mix them up.
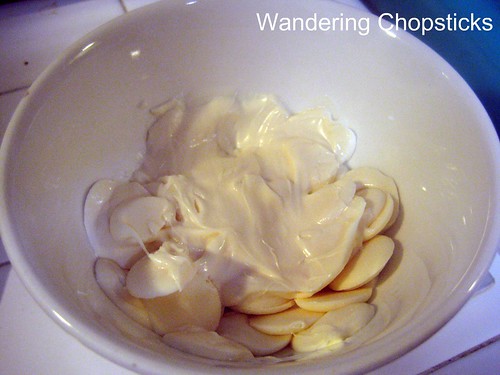
Don't worry if they haven't all melted, the warmth of the melted pieces will gradually soften all the other pieces. But if the candy melts are still too firm, then zap them in the microwave for a few more seconds. Err on the side of caution, these melt in much less time than you think.
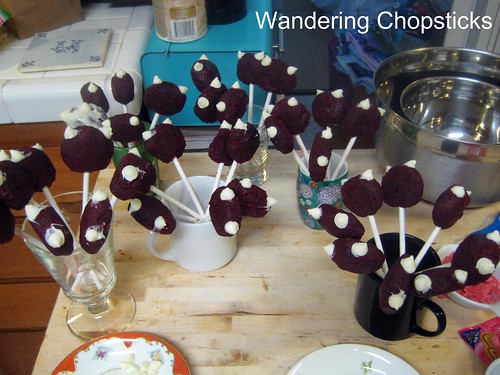
Then using a toothpick, dab some of the melted chocolate onto the bottoms of the white chocolate chips and form Hello Kitty's ears.
Don't be like me and put them standing upright. The cream cheese/cake mixture will start sliding down the sticks. Just lay them flat again in the fridge to firm up. This was at 3:39 a.m. Lil' sis finished baking her raspberry cupcakes and helped me cut bows out of the fruit strips before heading to bed.
I doggedly continued onward with making the ears. Except, oh no! Some of the cake pops started sliding down the sticks. Frantic attempts to lay them flat onto the cookie tray and shoving them into the fridge again saved most of them.
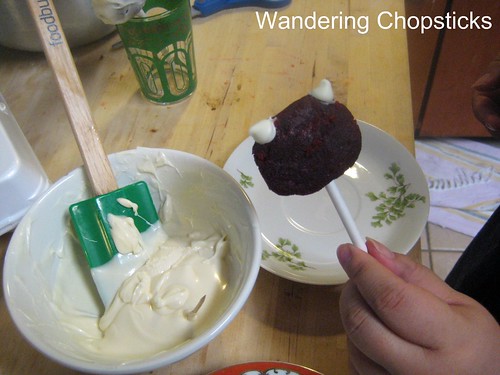
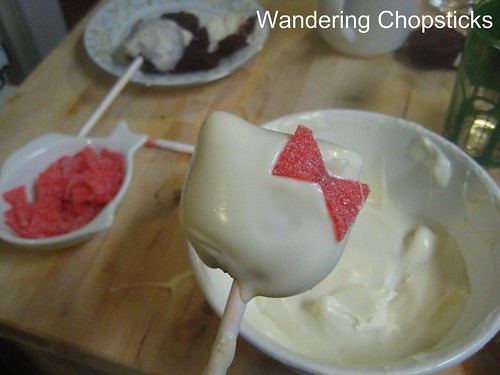
Then take the eared cake pops that had been in the fridge the longest and get ready to coat them. If the chocolate melts mixture is too stiff, zap it for a few seconds in the microwave to loosen it up again. In any way you can, dip the cake pop into the white chocolate mixture. Since the Hello Kitty heads are flattish, I dipped one side, then the other, instead of immersing the whole thing.
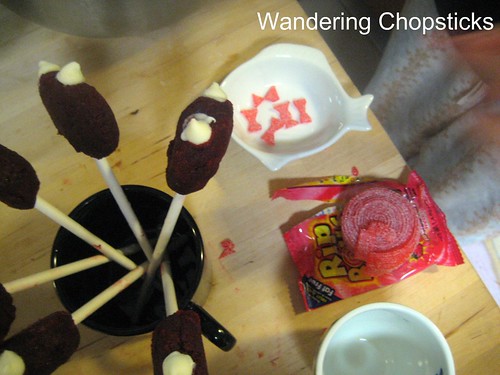
On the cleanest side, pop a fruit bow on the right side before the chocolate sets.
Lay the cake pops down to set on a flat surface. These don't have to be refrigerated again if you don't want to as the chocolate firms up pretty quickly.
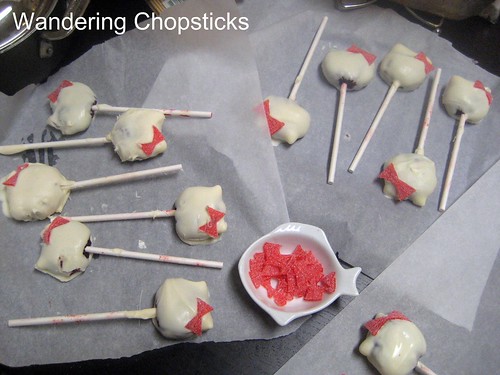
The chocolate dipping thing is tricky work. I started with 38, I ended up with 25. The cake pops kept sliding off the sticks or melting right into the white chocolate mixture. So I had to fish out the cake bits, add more chocolate, and keep going. Went through the whole bag of white candy melts and the whole bag of white chocolate morsels too. Just add more chocolate to the bowl and zap it for a few seconds in the microwave again when it seems like the chocolate is too low for proper dipping.
Finally went to bed at 4:45 a.m. Can't I just leave them like this? You can obviously tell they're Hello Kitty in a nice abstract kind of way...
Up again at 6:15 a.m. I wasn't getting much sleep anyway and needed to decorate the Hello Kitty faces before I left for work.
Tried writing with edible marker first. It did work, but wasn't very dark. Decorating gels it is then. Hmm. Eyes too high and too close together.
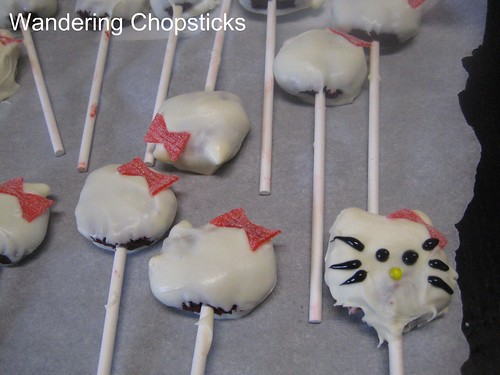
Lower, wider, much better.
The decorating gels are pretty sticky, so lay the cake pops so Hello Kitty's face doesn't get smeared.
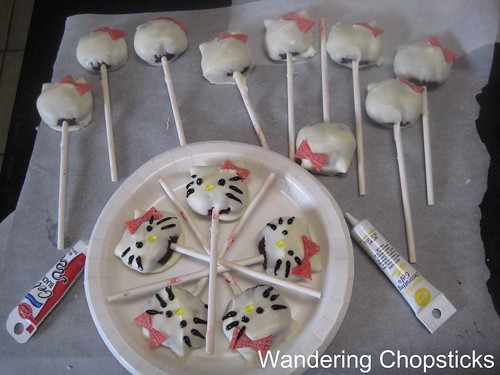
Hey, now I'm getting the hang of it. Even my momma complimented me.
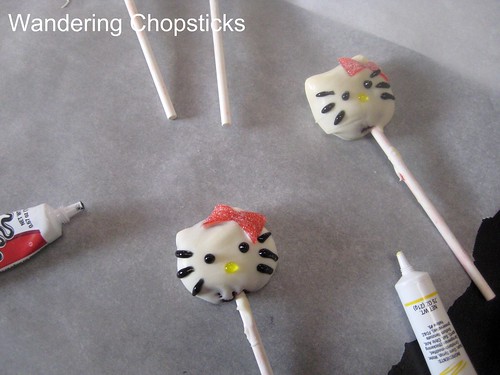
Lower, wider eyes is definitely the way to go. Also, the top whiskers don't start until right above her eyes. So lower, wider eyes. Top and middle whiskers frame the eyes. Lower whiskers are below.
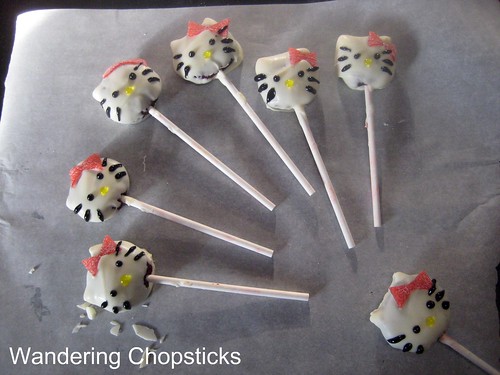
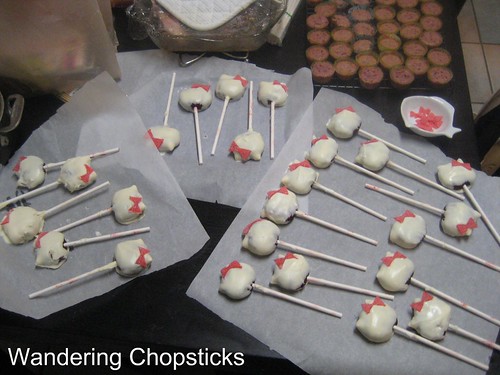
I left them in the fridge to chill and went to work at 8:33 a.m. Phew! Finally done!
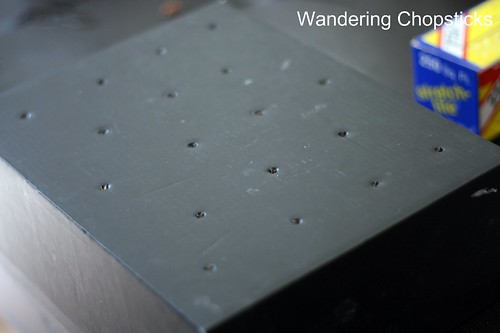
Much, much later in the day, it was finally time to bring the cake pops to the party. I initially thought I'd put the cake pops into a vase, but seeing as how the decorating gel remained sticky, that wouldn't work because the cake faces would rub into each other. So I grabbed a sturdy cardboard box and punched staggered holes in it to make a display stand. Worked like a charm.
I made Hello Kitty cake pops!
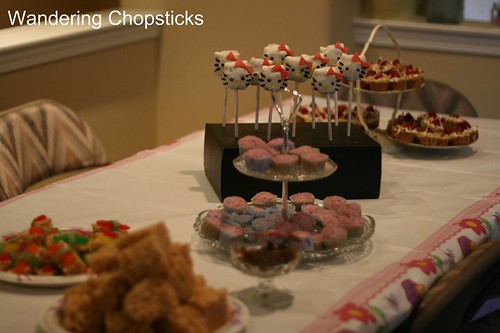
The Hello Kitty cake pops on display at my niece's birthday party.
In the end, I have to say, I'm pretty proud of myself. Exhausted, but I wouldn't have done it for anyone else.
Who else made Hello Kitty cake pops?
Bakerella started the whole cake pop movement in general, and Hello Kitty cake pops in particular.
Lan of Angry Asian Creations' version made me think I could finally do this.
Other recipes from my niece's first birthday:
Banh Bo Khoai Tim (Vietnamese Steamed Rice Cakes with Purple Sweet Potatoes)
Chocolate Pop Rocks Candy
Dessert Sushi with Swedish Fish Candy and Rice Krispies Treats
*****
1 year ago today, Cu Sen Chien (Vietnamese Fried Lotus Root Chips).
2 years ago today, Herman the sturgeon at Bonneville Hatchery - Cascade Locks - Oregon.
3 years ago today, Chicken Parmesan redux.
4 years ago today, Waldorf Salad.
i love the way your cake pops turned out! and the sparkly bow, too cute.
ReplyDelete$30 is about what i paid for my supplies too, tho i have a bit leftover. i'm thinking just regular cake pops are in my future, none of that decorating stuff! :)
Wow! That's a lot of work, but they turned out so cute! You should be very proud. Little Tiberia will appreciate it when she's older.
ReplyDeleteI noticed in Bakerella's original version, she dipped the lollipop stick into the candy melts before she stuck on the cake head. Maybe that will help with the sliding of the cake down the stick. This might be helpful for anyone thinking of giving these a try after seeing how adorable yours turned out. I know this has inspired me!
ReplyDeleteHi Chopsticks,
ReplyDeleteWhat a great Aunt you must be to put in so much effort. Your kitty pops look great! I really enjoyed this post. It is the first time I have read a post describing how expensive and time consuming these cake pops are! I have always suspected that to be so. Thanks for confirming my thought!
Hee! I recently blogged about cake pops, too. Not that I made any myself - I just learned of their existence and have become enamored. They are *so* cute and while I definitely don't have a sweet tooth and don't see them as tempting treats, I can't help but find them adorable. You did a much better job than I, and I bet, most people, would have. I thought briefly about making them but then thought "These are going to be a gianormous amount of work" so I indulged myself by looking at pretty pictures of them online instead. Though if I had kids, I think I would attempt it at least once. Way to go auntie!
ReplyDeleteI've been following your blog for a while! I've been playing around with cake pops for a while and learned some tricks.
ReplyDeleteI break up all the cake either in a mixer or food processor then add 1/2 of the frosting, then add enough to make it all come together. I found every time I did a whole can they were too rich and the consistency was too doughy and they slid off the stick. Also I dip the stick first in chocolate then insert into cake pop.
To help with time, I usually set up 2 days. Bake the cake the day before, let it sit the entire day then make the mixture that night. Refrigerate the balls overnight in the fridge, then take the next day to decorate.
I too stupidly bought the writers and they do nothing on chocolate. I went to Decor Party Supplies in La Habra and they have TONS of baking supplies including the oil to color chocolate and candy writers that look like the gel ones but thicker and dry faster!
Thanks for all your posts! I'm half Vietnamese and my mom died in 2003,along with all her recipes. I look to your site for my Vietnamese food fix and have been very successful with your recipes!
Theresa
Lan,
ReplyDeleteThe sparkly bow was the only kind of fruit roll they had. :P I have half of my lollipop sticks left and the markers. But I think I'd make regular cake balls, none of the stick stuff.
Thao,
Thanks! Maybe I should've saved it for next year, but I just had to try it right then.
Phuong,
It's worth trying at least once! And the pain of making them fades when you look at how cute they turned out. :)
Zoey,
At the same time that I bought the stuff for this, I also spent the same amount on salmon, chicken, veggies, and other stuff for several dinners. Processed food is not cheap! I don't know why people keep saying it's cheaper.
Vuthy,
Oh these have been around for a while! I saw Bakerella demonstrate them on Martha Stewart at least three years ago?! They are cute, but I don't really have much desire to eat them either. I can't believe I didn't even eat one of these.
Theresa,
Thanks for all the great tips. Oh, the energy to even attempt this again...
So glad you've enjoyed my recipes!